Change the MuSHR logo!
This page provides instructions for modifying the logo displayed on the back of the MuSHR Racecar.
Prerequisites
Before altering the MuSHR Racecar’s logo, the following steps should be taken:
Generate DXF File
In this section, we will transform the desired image into a file format that OpenSCAD can import, i.e. .dxf.
Find a .png or .jpg image to use as the logo. Images that are highly complex and/or consist of many colors will most likely be difficult to generate the correct file for, render in OpenSCAD, and/or feasibly manufacture with the 3D printer. For example, the image in Fig. 1.1 below is probably too complex.

Fig. 1.1
In this tutorial, we will use the image in Fig. 1.2 below.

Fig. 1.2
Open the image in Inkscape, for example as in Fig. 1.3 below.
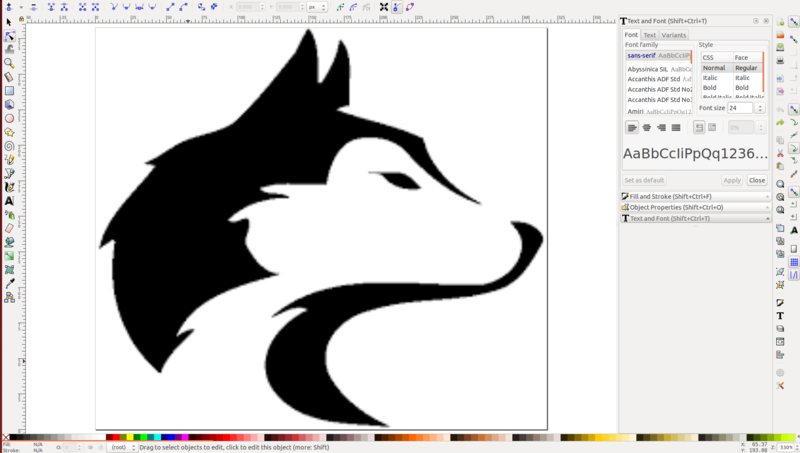
Fig. 1.3
Highlight your image by clicking on it. Then choose Path->TraceBitmap. Click the Update button. You may have to adjust some of the parameters until the bitmap in the Preview window looks as desired. Once you are satisifed, click OK. Then close the TraceBitmap window.
The previous step caused a bitmap to be drawn over our original image. We now want to delete the original image (and keep the bitmap). Drag the bitmap to the side and delete the original image below it. Fig. 1.4 below shows the bitmap on the right and original image to delete on the left. Note that the bitmap is less blurry than the original image.
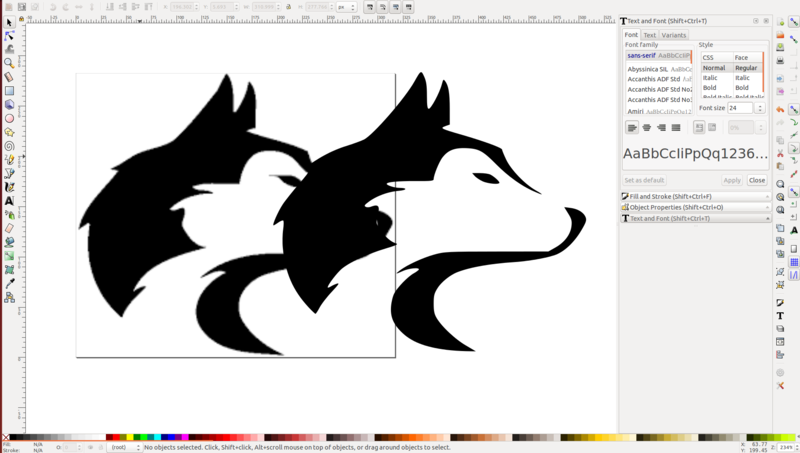
Fig. 1.4
After deleting the original image, re-center the bitmap within the canvas. Next, we need to pologonize our path. To do this, choose Extensions->Modify Path->Flatten Beziers. We used a flateness value of 0.5 - we suggest starting with this value and modifying it if the design does not look correct when imported into OpenSCAD.
Next, click File->Save As…. Set the file destination to be mushr_cad/images. Set the file type to be Desktop Cutting Plotter (AutoCAD DXF R14) (*.dxf). Then click Save. The Desktop Cutting Plotter dialog should pop up. Here, make sure that use ROBO-Master type of spline output is unchecked, and that use LWPOLYLINE type of line output is checked. Then click OK to save the file as a .dxf.
Generate Back Cover STL Files
In this section, we will use our desired logo to generate new .stl files for the sides of the racecar’s back cover.
Open mushr_cad/misc/racecar_cover_image.scad. Change the rci_dst variable to be the file path of your logo’s .dxf file. You should only need to change the file name, the parent directories should not need to be changed.
Save the OpenSCAD file. Then render the model (i.e. press F6). Our rendered is model is shown below in Fig. 2.1.

Fig. 2.1
Examine the code in the Editor window. The block that uses difference() and minkowski (lines 13-26 in Fig. 2.1) generates a version of the logo that has its edges trimmed. This is so that we can create an inset of the logo that can be printed in a different color from the racecar’s back cover and then be super-glued into the inset hole. In order to print this inset (you will want to print a pair), click the STL button and save it to mushr_cad/v3/stl (you can overwrite the existing racecar_cover_image.stl), which is the directory that contains all of the other parts that you will want to print.
While keeping racecar_cover_image.scad open, open mushr_cad/v3/scad/racecar_back_cover_left_side.scad. Render the model by pressing F6.
Once the model has rendered, click and drag in the viewer window so that you can see underneath the model, as shown in Fig. 2.2 below.
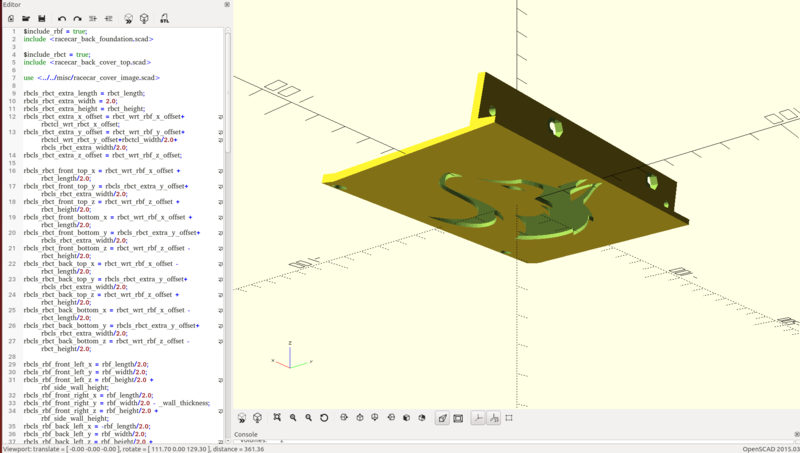
Fig. 2.2
If you would like to change the size or position of the logo, go back to racecar_cover_image.scad. Modify the rci_x_scale and rci_y_scale parameters to change the logo’s size, and the rci_x_offset and rci_y_offset parameters to change the logo’s position. NOTE: In order for these changes to take effect, you must save the racecar_cover_image.scad file before re-rendering racecar_back_cover_left_side.scad. After altering the parameters, return to racecar_back_cover_left_side.scad and re-render by pressing F6. If your logo does not show up after rendering racecar_back_cover_left_side.scad, try making rci_x_scale and rci_y_scale increasingly large. Continue to alter the parameters until the logo is sized/position as desired.
In racecar_back_cover_left_side.scad, click the STL button to save the model in mushr_cad/v3/stl (you can overwrite the existing racecar_back_cover_left_side.stl).
Return to step 4, except open racecar_back_cover_right_side.scad instead of racecar_back_cover_left_side.scad.
Congratulations! You are ready to 3D print your own personalized MuSHR robot! All necessary .stl files can be found in mushr_cad/v3/stl.