Run the MuSHR platform on your machine!
Beginner Tutorial | Expected duration is 30 minutes
By: Matt Schmittle
Introduction
This tutorial will get you started with MuSHR in simulation!
Goal
To get the simulator running on your machine so that you can begin hacking immediately!
Requirements
- A Ubuntu 16.04 or 18.04 Linux machine (20.04 not supported yet!). If you don’t run linux natively you can use an Ubuntu VM.
We also provide a virtual machine image that already has the MuSHR stack setup, it can be downloaded here. The username is robot and the password is prl_robot. If you use this image, you can start the VM and then skip to the Running the Simulator section. If you’re using VirtualBox, here is a tutorial for setting up the virtual machine image.
For good performance, it’s a good idea to set the RAM used by your VM to at least 2048 MB. If using VirtualBox, navigate to Settings -> System and you should see a slider which allows you to modify RAM.
Window Subsystem for Linux (WSL): There has also been success getting the quickstart to run using WSL. When running
rivzyou’ll need to disable nativeopengl. There will be a note (Note for WSL) in the section runningrviz.Python2.7: If you have Python3 as your default version, download Conda to easily create/manage Python2.7 virtual environments.
To learn how to use conda environments please see the following tutorial
Setup
First we need to make sure you have a few dependencies installed. All commands are to be executed in a terminal (CTRL + ALT + T). Here is what you need:
- ROS Melodic Desktop Full (for Ubuntu 18.04) or ROS Kinetic (for Ubuntu 16.04) You could also try installing ROS on another supported platform, but as of right now this tutorial has not been tested on non-Ubuntu machines.
- A catkin_ws
- git:
$ sudo apt install git-all- tkinter:
$ sudo apt install python-tkOnce you have these, you’re good to go!
Install Sim
Now that we have the dependencies, lets get started! We’ll start by making sure we have all the necessary ROS packages. Select one of the following, based off the version of ROS you installed.
Melodic:
$ sudo apt install -y ros-melodic-ackermann-msgs ros-melodic-map-server ros-melodic-serial ros-melodic-urg-node ros-melodic-robot-state-publisher ros-melodic-xacroKinetic:
$ sudo apt install -y ros-kinetic-ackermann-msgs ros-kinetic-map-server ros-kinetic-serial ros-kinetic-urg-node ros-kinetic-robot-state-publisher ros-kinetic-xacroNow, let’s clone the necessary repos. First go to your catkin_ws/src directory:
$ cd ~/catkin_ws/srcDownload repos.yaml into ~/catkin_ws/src.
And clone the necessary repos using vcstool:
$ vcs import < repos.yamlWe need the realsense2_description directory only:
$ mv ~/catkin_ws/src/mushr/mushr_hardware/realsense/realsense2_description ~/catkin_ws/src/mushr/mushr_hardware/realsense2_description
$ rm -rf ~/catkin_ws/src/mushr/mushr_hardware/realsense
We need to also install rangelibc. First, if you don’t have Cython installed, install it now:
$ sudo pip install Cython Now that Cython’s installed, you can install rangelibc:
$ cd ~/catkin_ws/src/range_libc/pywrapper
$ sudo python setup.py install
$ cd ~/catkin_ws/src && rm -rf range_libc
We will now run catkin_make to setup all the packages:
$ cd ~/catkin_ws && catkin_makeSetting up our environment
To make sure our environment is setup we run:
If you are using a shell other than bash, be sure to put these “source” commands in the analagous file for your shell.
Kinetic (Ubuntu 16.04)
$ echo 'source /opt/ros/kinetic/setup.bash' >> ~/.bashrc
$ echo 'source ~/catkin_ws/devel/setup.bash' >> ~/.bashrc
$ . ~/.bashrc
Melodic (Ubuntu 18.04)
$ echo 'source /opt/ros/melodic/setup.bash' >> ~/.bashrc
$ echo 'source ~/catkin_ws/devel/setup.bash' >> ~/.bashrc
$ . ~/.bashrc
Putting these lines in the ~/.bashrc guarantee they run on the startup of a new shell.
Finally, move the “Outrun” themed .rviz file to ~/.rviz to get our default setup:
$ cp ~/catkin_ws/src/mushr/mushr_utils/rviz/default.rviz ~/.rviz/That’s it! Time to run it.
Running the Simulator
To start the sim run:
$ roslaunch mushr_sim teleop.launch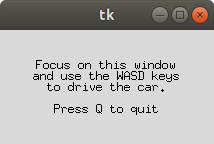
Teleop window that should appear after starting the sim
And in another terminal window launch rviz:
$ rvizWSL Users Note: In order for Open GL to find a display you’ll need to do an extra step to get rviz to work. See Install VcXsrv to get it working.
The rviz window with the car model should appear (see below). Rviz is useful for visualizing what the car is thinking/seeing. Currently it is set to visualize the car, map, and laserscan but rviz can be used for much more.
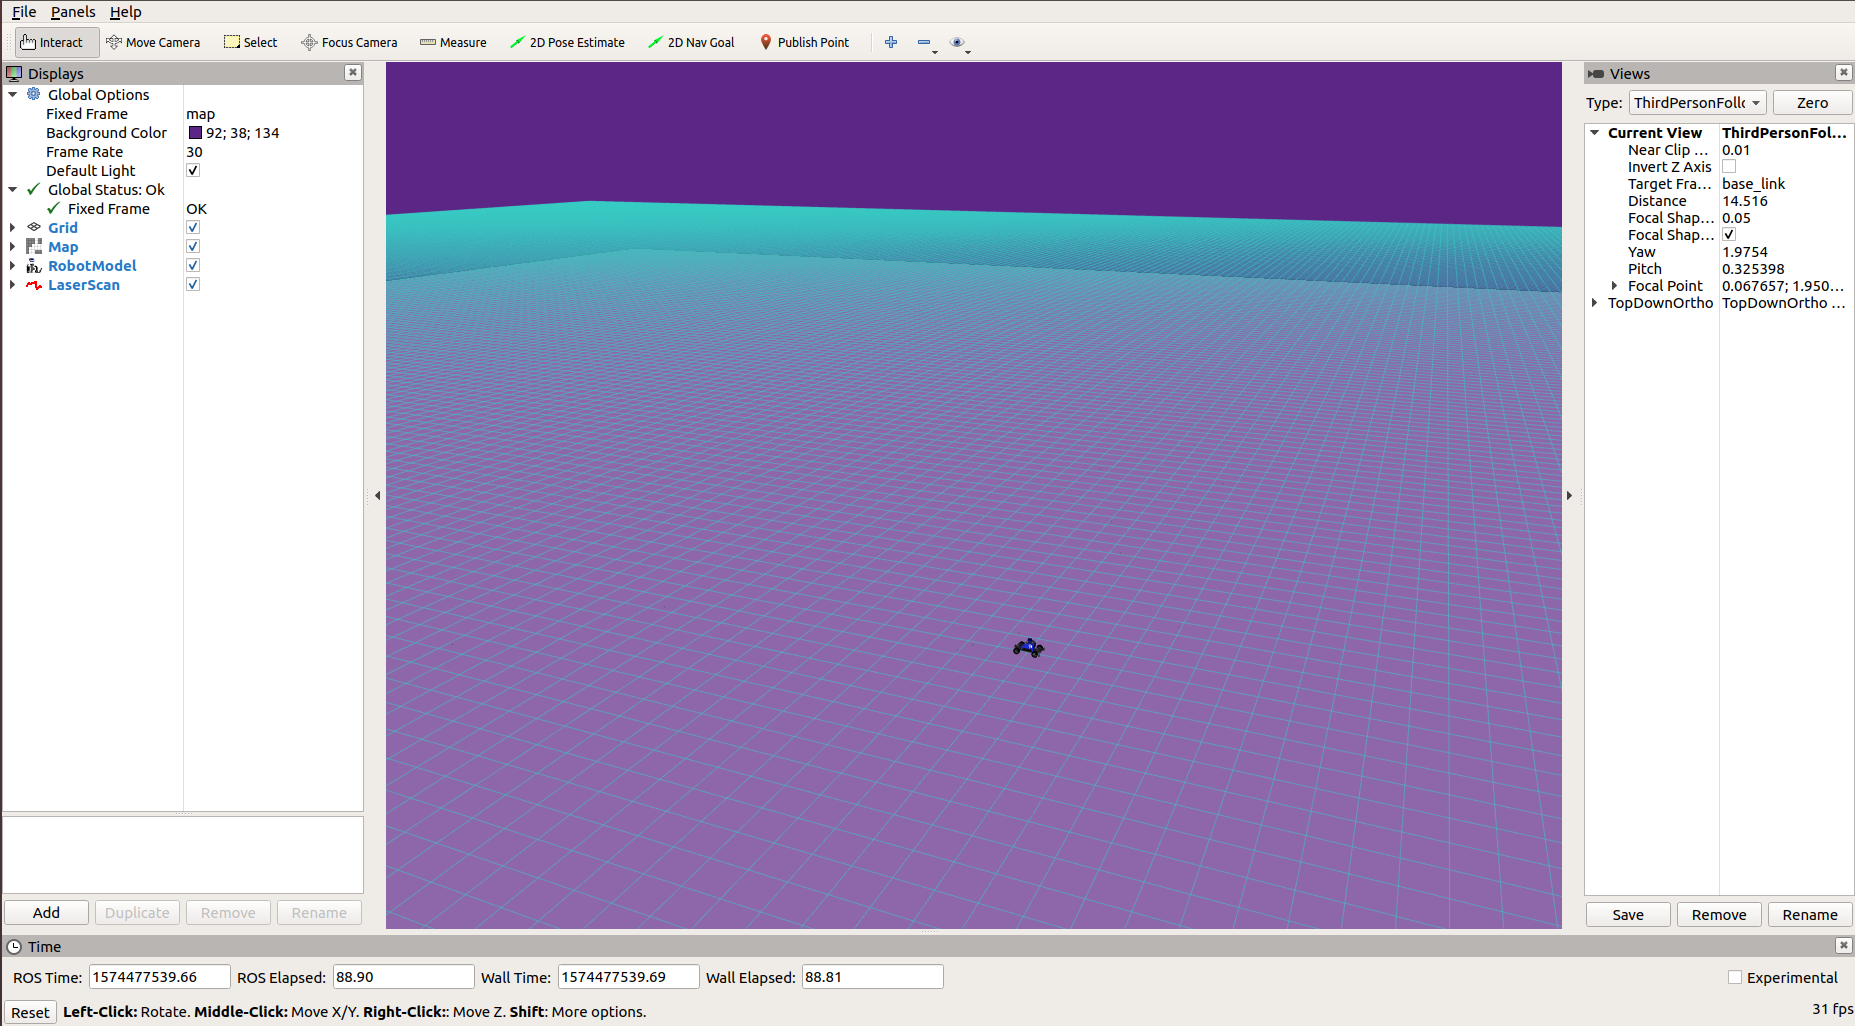
This is an image of the rviz window that should pop up.
Setting an Initial Position
Give the car an initial position by clicking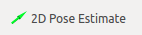
in rviz and clicking and dragging in the main window. Now you can click on the small gray window and use the WASD keys to drive the car around! You can set the position at any time to reset the pose.
Navigating rviz
The main pane will show a map of an empty square space. The ligher areas are the space where the simulated car can drive around. The darker areas are walls.
Clicking and dragging will change the perspective of rviz, while Shift + Click and draging will move the map around.
Changing the map
The current map is fine for driving around, but to do more interesting things you may want more interesting maps. To change the map follow these steps.
# To list what maps are available
$ ls ~/catkin_ws/src/mushr/mushr_base/mushr_base/mushr_base/maps/
# Open map_server.launch
$ nano ~/catkin_ws/src/mushr/mushr_base/mushr_base/mushr_base/launch/includes/map_server.launch
Edit map_server.launch to set the map to the name of the .yaml file. It should look like this, replacing map_name with the name
of the map you want to use.
| |
You can make your own maps using SLAM based techniques like gmapping or cartographer. But if you just want something quick and simple, you can make your own .yaml and .png files for the map. Use the current map files as a template. We use Gimp to edit the map .png file but you can use any image editor you like.
Going Further
To learn about programming the car, continue to the Intro to ROS Tutorial.
Troubleshooting
Commonly encountered problems during this tutorial.
Virtual Machines
Failed to open ovf descriptor when importing the virtual machine image
This is a known issue with .ova file extensions downloading as .ovf from Google Suite. To fix, rename the file extension to .ova.
Can’t copy and paste into VirtualBox
Power down the virtual machine. Select Settings -> General -> Advanced -> SharedClipboard and select bidirectional. Restart the virtual machine.
Ubuntu runs slowly/freezes on VirtualBox
This likely occured because the default settings for new virtual machines are low. For better performance, it’s a good idea to double the default memory (from 1024 to 2048 MB). Select Settings -> System and you should see a slider which allows you to increase RAM.